Spice your Android app with Web Components!
Developing an Android application with Android Studio and in a need to talk to an HTML/web component? Then this article is for you. It gives a step by step description of how to add any web component into your application. We show how to communicate with it in the same language that you use for the native part of your application.
Let’s get started…
Setting the Project up
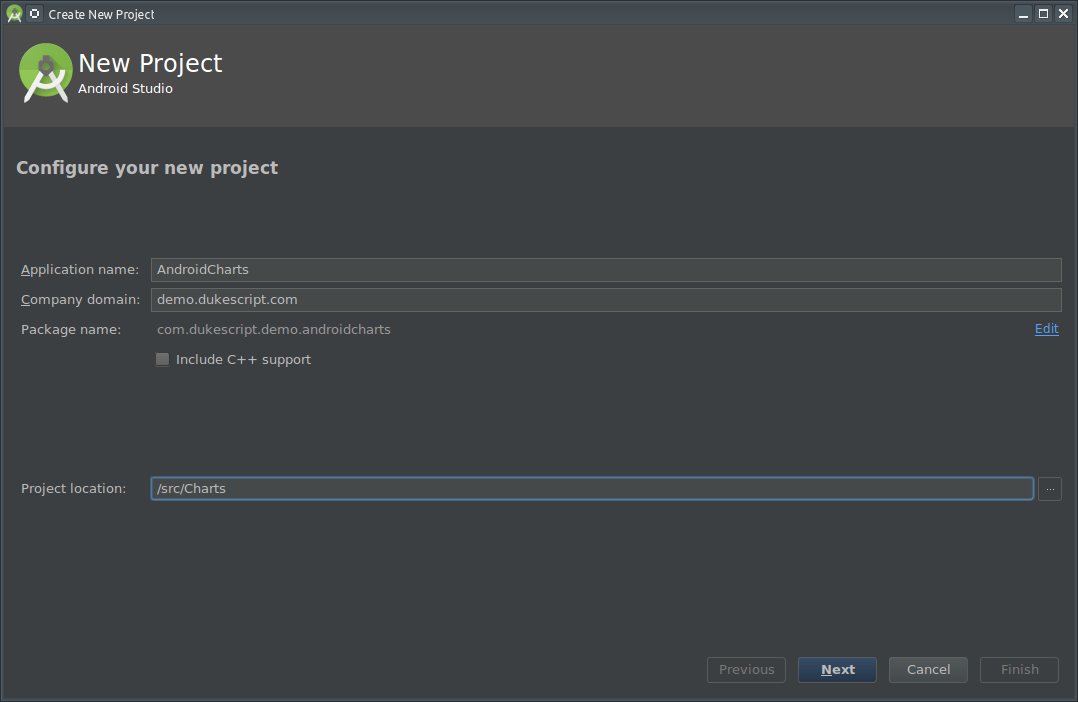
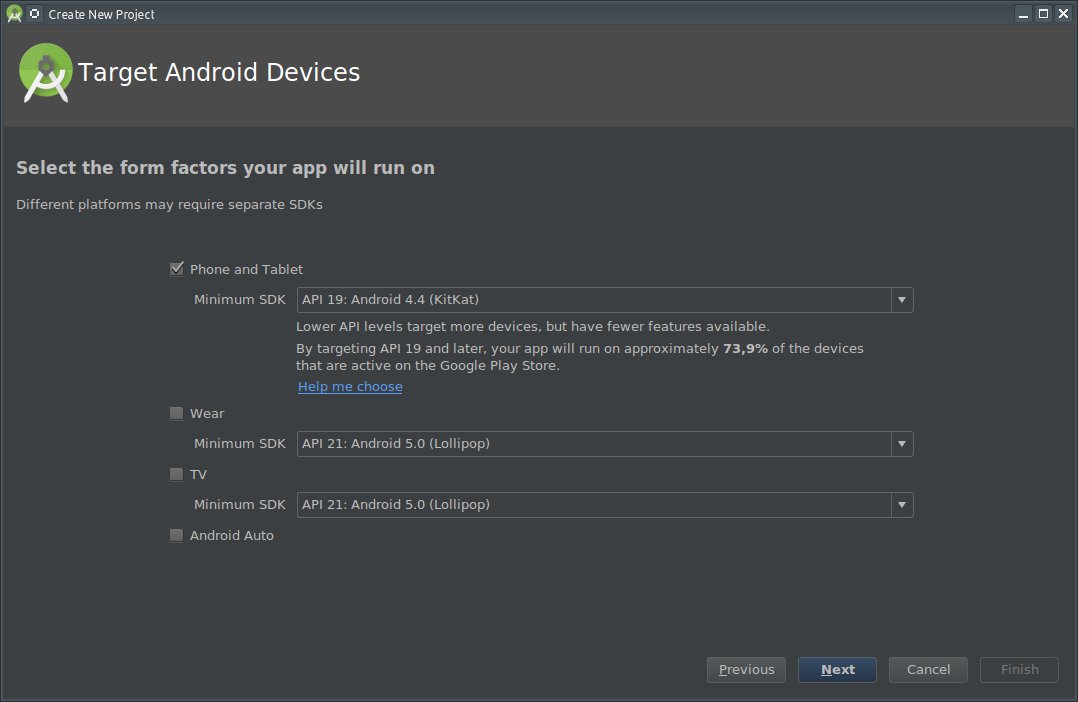
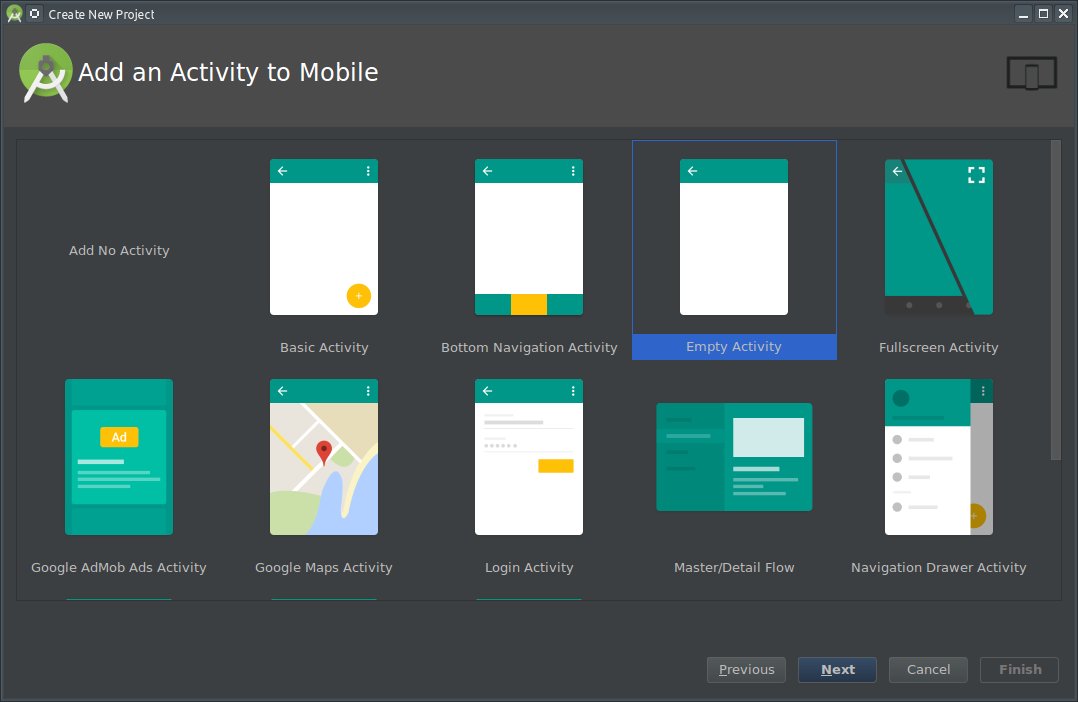
First of all you need Android Studio (can be downloaded from here). At the time of writing this tutorial version of 2.3.1 of Android Studio was used. The steps shall however be general enough to be applicable to any version. Let’s create a new project with an empty activity:
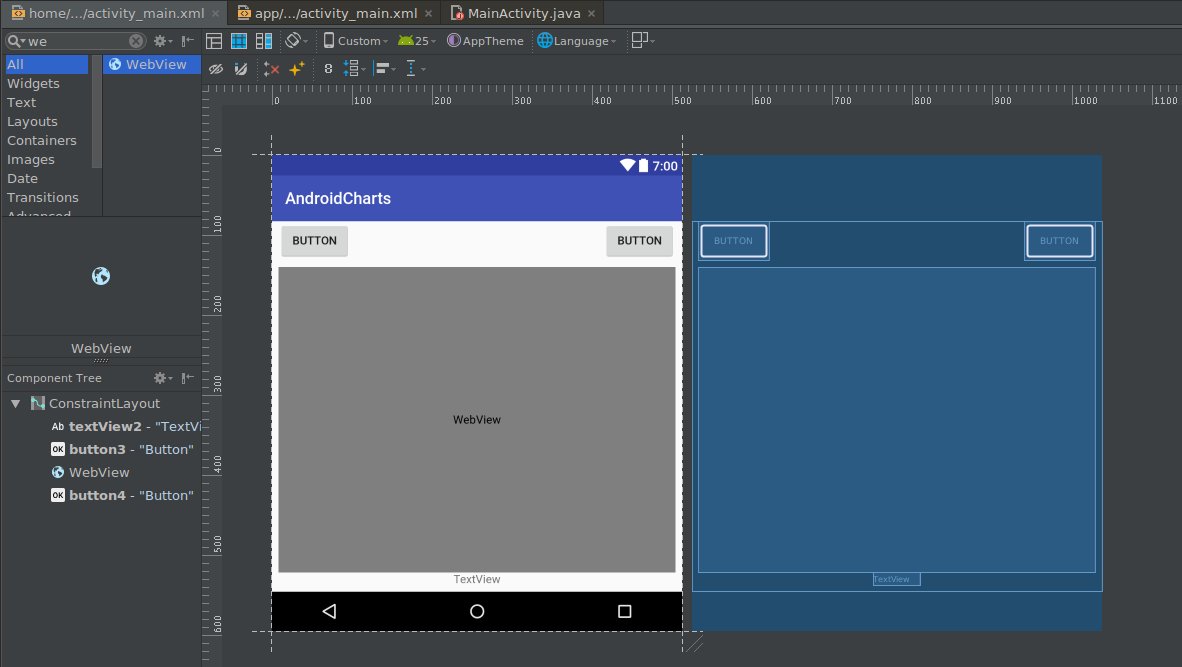
Let’s put two buttons, one text area and most importantly a WebView component to the activity:
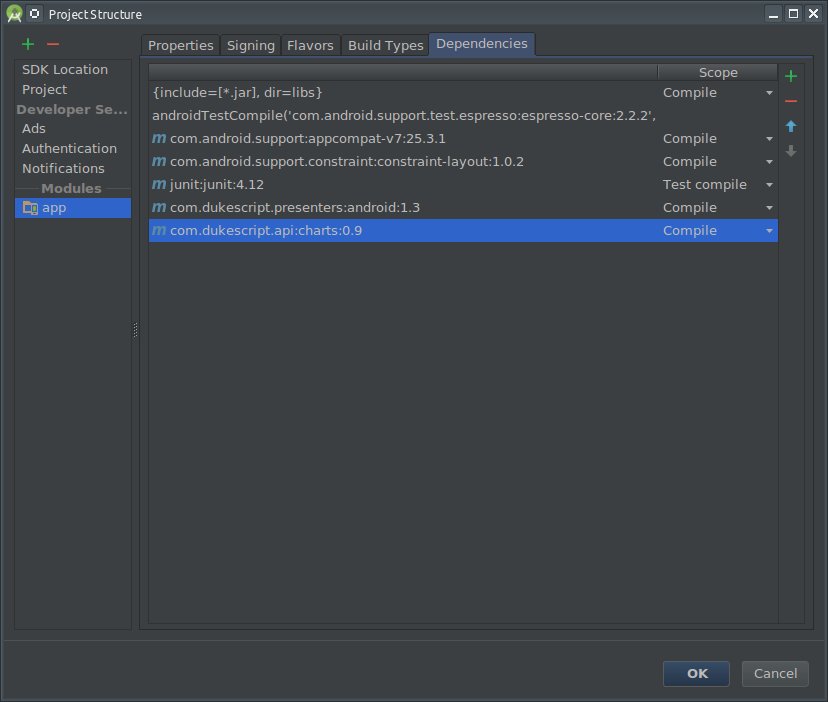
So far we’ve been using standard Android Studio tools. Now the time has come to turn the WebView into chart renderer. To do so, let’s use the DukeScript Presenter for Android and the charts library. Select File/Project Structure menu item and in the Dependencies tab add these two libraries as shown on following picture:
The project setup is finished. Now we can start writing the real application code.
The Code
First of all we need an HTML page to be displayed in the WebView. The page doesn’t have to be complex - it can contain just a single <canvas> element that will span over the area of a WebView.
Create assets directory. Right click app, choose New/Folder/Assets Folder and create your HTML file in that folder. Call it chart.html and put the following content to it:
<h1>Hello from DukeScript!</h1>

<canvas id="chart" width="300" height="300"></canvas>
Prepare the WebView for Java Access
The next step is to load the page into our WebView component and initialize the view
for access from Java. This is done in the onCreate method of our MainActivity
class:
import com.dukescript.presenters.Android;

@Override
protected void onCreate(Bundle savedInstanceState) {
    super.onCreate(savedInstanceState);
    setContentView(R.layout.activity_main);
    WebView web = (WebView) findViewById(R.id.web);

    onWeb = Android.configure(null, web, "file:///android_asset/chart.html", false);
}
The configure method
initiates loading of the provided HTML page and returns
an Executor that can be used to modify content of the page from Java
any later time. Let’s store it in a field called onWeb.
Modify the HTML Content
There can be multiple WebView components in each activity. When using any API that needs
access to the HTML context, it is important to select the WebView one
intents to work with.
This is done by using the previously returned Executor instance.
import net.java.html.charts.Chart;
import net.java.html.charts.Color;
import net.java.html.charts.Config;
import net.java.html.charts.Values;

onWeb.execute(new Runnable() {
    @Override
    public void run() {
        chart = Chart.createBar(
            new Values.Set("left", Color.valueOf("red"), Color.valueOf("magenta")),
            new Values.Set("left", Color.valueOf("blue"), Color.valueOf("violet"))
        );
        chart.getData().add(new Values("state", 1, 1));
        chart.applyTo("chart");
    }
});
The example is using the Charts API for Java
provided as one subproject of the whole DukeScript effort. First of all we use the
onWeb instance of Executor associated with our WebView
to enter the right context. Then we create new instance of bar chart (other types of charts
like line, pie, doughnut, radar, polar are also available as the
documentation showcases).
We prepare some initial values and add them to the chart. Then we bind the chart
to an existing <canvas> element on the page using applyTo method.
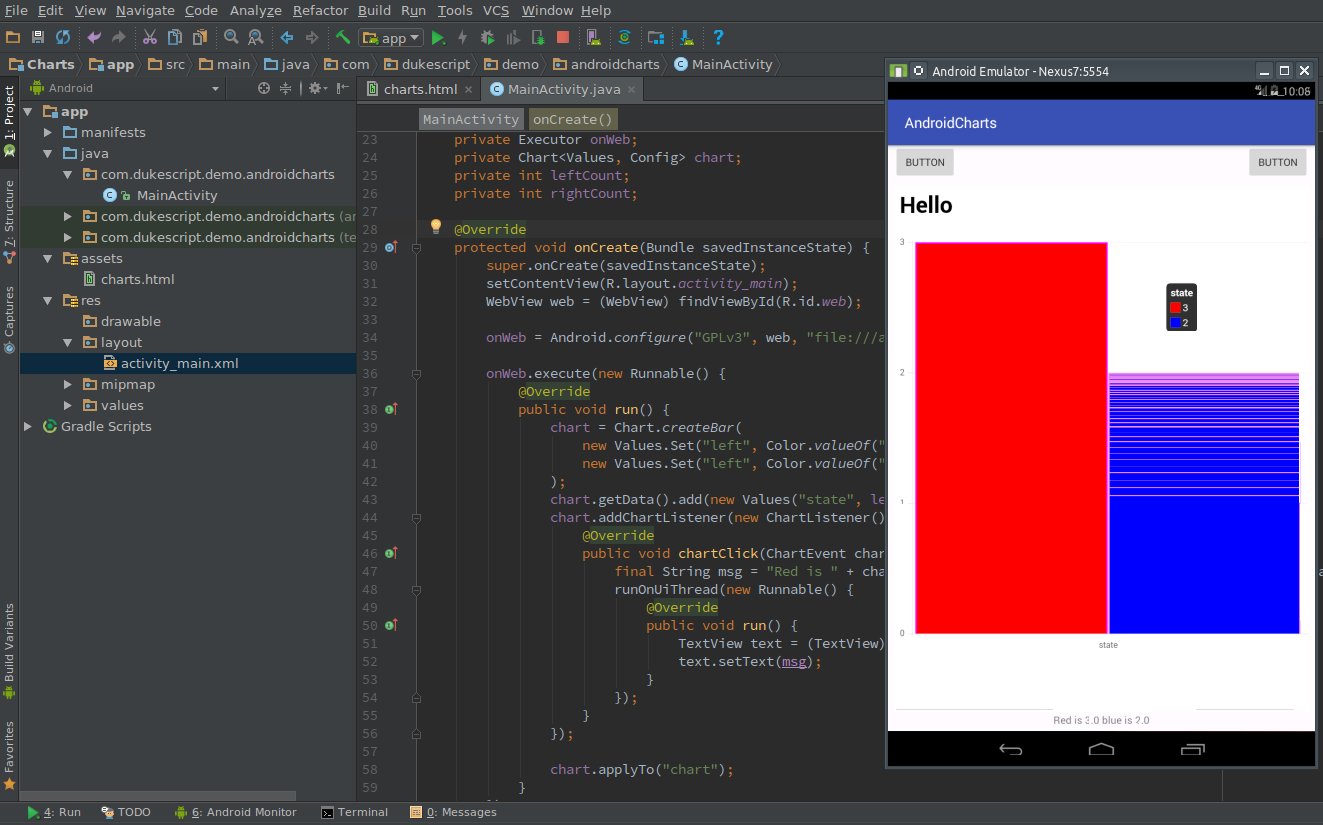
That’s it. When you execute your application, you shall see the chart taking most of your screen.
Congratulation. You have just successfully used a Web Component in your Android application - and please note: without a single line of JavaScript!
Reacting to Events
Showing static HTML content is a nice initial step, but of course, the goal is to make it live. The android activity we designed contains two buttons - let’s connect them with the chart!
Button left = (Button) findViewById(R.id.left);
left.setOnClickListener(onWeb(new View.OnClickListener() {
    @Override
    public void onClick(View view) {
        chart.getData().set(0, new Values("state", ++leftCount, rightCount));
    }
}));
This is a typical Android code. It locates your component and attaches a listener to it. When the click is triggered, it accesses the data of existing chart and modifies them by increasing either left or right column in the chart.
Your Charts web component is now alive - again without any use of JavaScript and fully integrated into your Android application.
Reacting to Web Component Events
Of course, not only native Android components influence the web components. In a real application web components can also influence the native ones. Here is an example showing how that can be achieved:
chart.addChartListener(onUi(new ChartListener() {
    @Override
    public void chartClick(ChartEvent chartEvent) {
        if (chartEvent.getValues() == null || chartEvent.getValues().length != 2) {
            return;
        }
        final String msg = "Red is " + chartEvent.getValues()[0] + " blue is " + chartEvent.getValues()[1];
        TextView text = (TextView) findViewById(R.id.text);
        text.setText(msg);
    }
}));
When creating your chart, you can attach a listener to it. It gets triggered when
a click on the chart is detected and is called back with an event object providing information about
the location of the click. In response of such click, we can locate our text view (another native
component) and change its text property.
Summary
We have successfully enhanced our native Android application with a web based component - in this case a bar chart - and have done so without a line of JavaScript. This is possible thanks to DukeScript Presenter for Android and its configure method that allows you to turn any WebView in your application into a full featured DukeScript presenter.
There is a lot of innovation happening in the HTML landscape. DukeScript project gives you access to all of that from inside of your Android application and while using the same language that you use for the rest of your application.
Where to go from here?
Check the Android.configure documentation to understand possible embedding alternatives.
Read the overview javadoc page to see available Java APIs that have already been prepared and documented by the DukeScript documentation project. Choose from charts, maps, JQuery, knockout, canvas, SVG, and more…
Get the sources of here-in presented application, clone, fork, enhance. See the GitHub project.
Talk back. Contact us via forums, twitter or support channels.
Enjoy
Enjoy web components inside of your Android app done the proper Java way!