DukeScript for IntelliJ IDEA
Here are some instructions how to get started with DukeScript using IntelliJ IDEA. Miroslav Kopecky has volunteered to contribute a tutorial. Miro is a long time Java user and a very active member of the Java community, loves to speak at international conferences and share his knowledge, and he’s one of the founders of the GeeCon Conference.
He also is a happy user of the IntelliJ IDEA and we’re glad that he managed to setup the project and get it to run. Here are his instructions:
DukeScript for IntelliJ
DukeScript is a cool project following Java’s general idea : WORA (WODE) (‘Write once, run anywhere’). But it was sad to see DukeScript has forgotten about IntelliJ IDEA users. IntelliJ IDEA is almost an open source project too (JetBrains is offering a Community edition), and one of the most famous IDEs in the world. (together with its competitors VIM, NetBeans, Eclipse…). This blog post is devoted to them.
1. Step
Open IntelliJ IDE -> File -> New -> Project…
In this step you may run into trouble, when IDEA tries to load all archetypes. In such case you will see the following window. It means that the allocation pool for the MAVEN JVM is way too small.
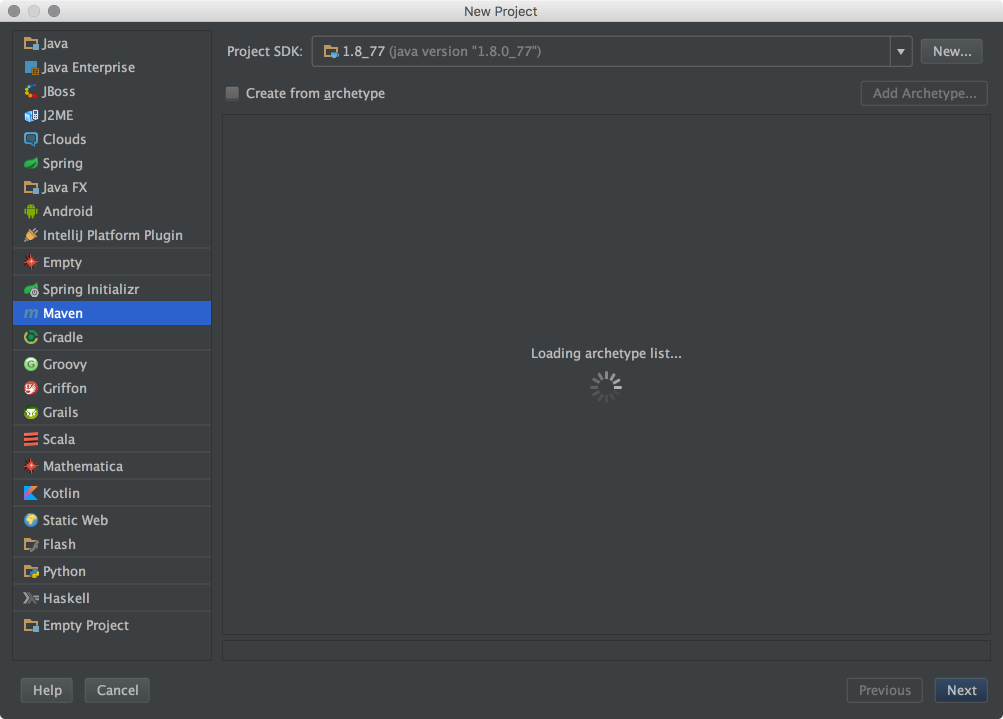
Solution: Go to Preferences -> Build -> Build Tools -> Maven -> Importing and in the section VM option for importer increase the number from -Xmx512m (too small) to at least -Xmx2048m.
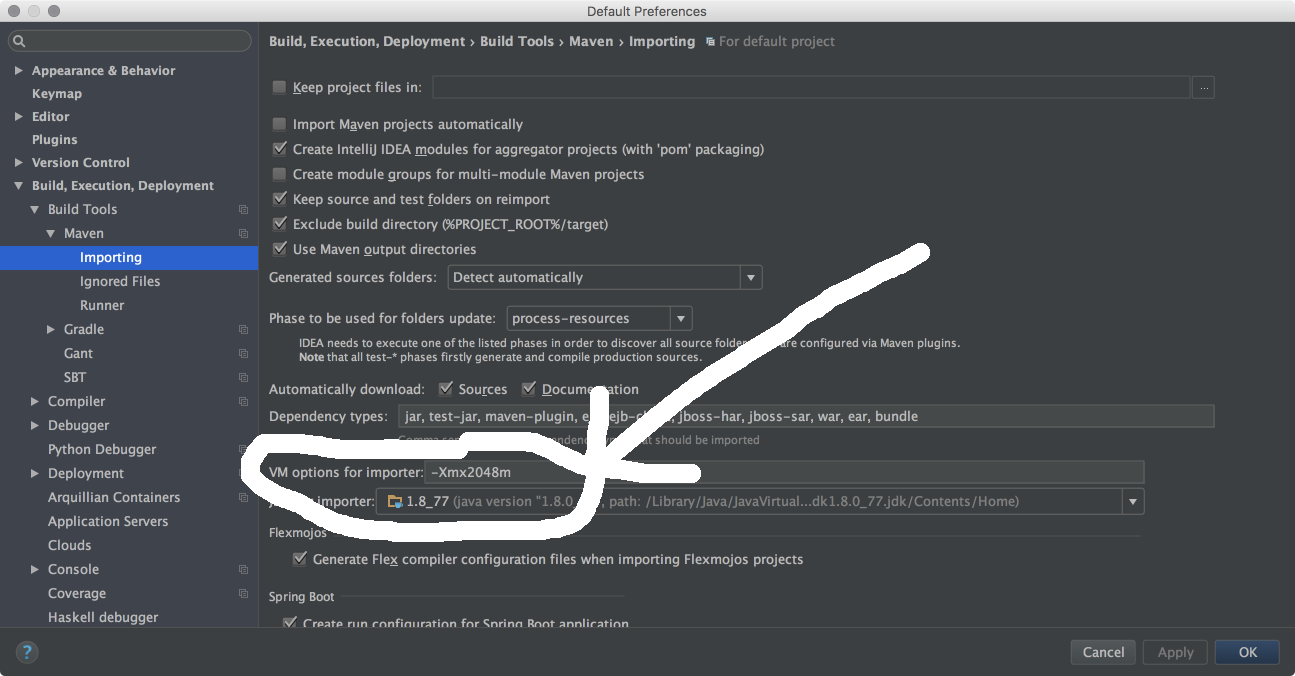
After this fast fix we are ready to add the proper archetypes to generate our first Duke Script project. You can find the currently available archetypes here:
http://mvnrepository.com/artifact/com.dukescript.archetype
2. Step
Now click ‘Add Archetype’.
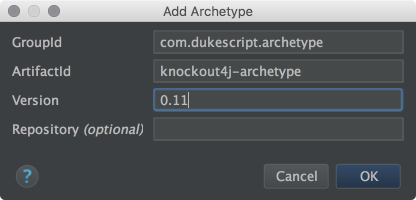
Select the newly added knockout4j-archetype, click “next” and follow the project creation procedure. I’m adding images of this procedure that you can confirm the correct steps.
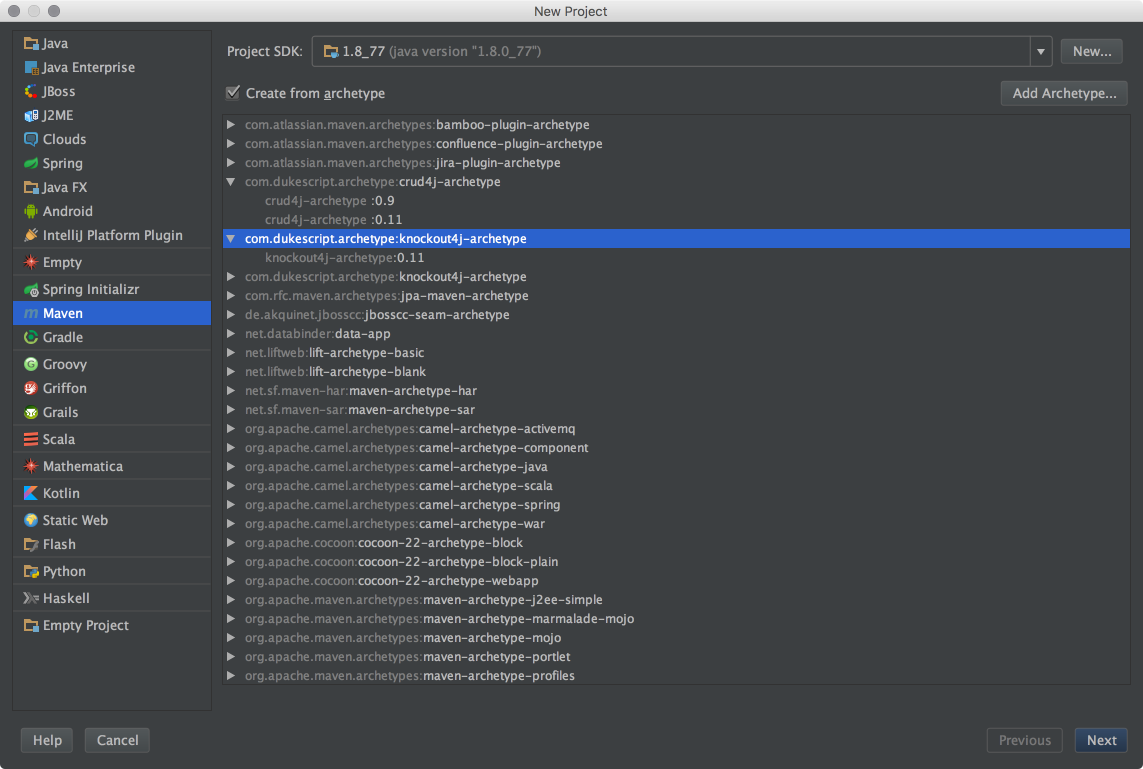
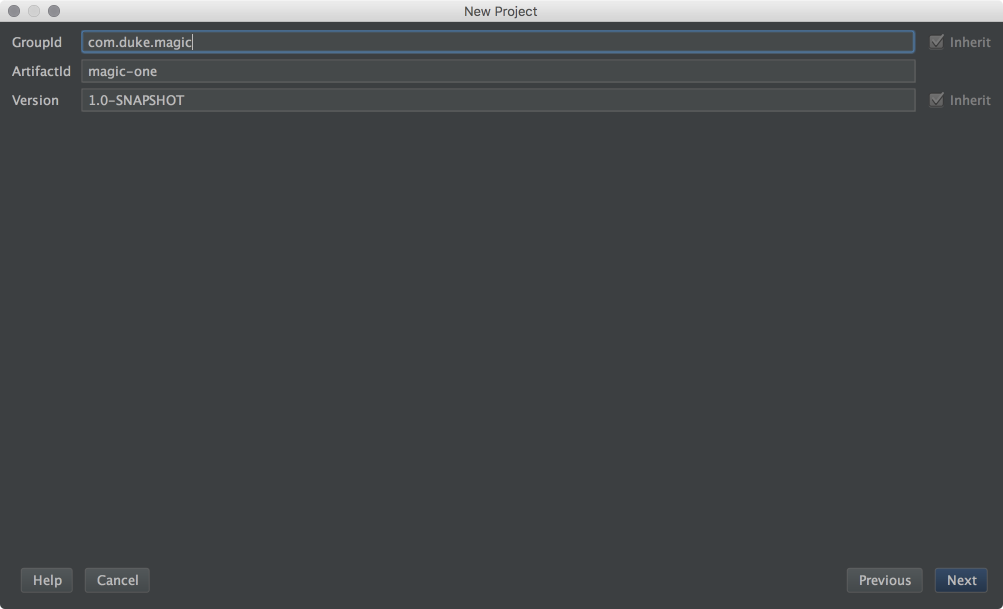
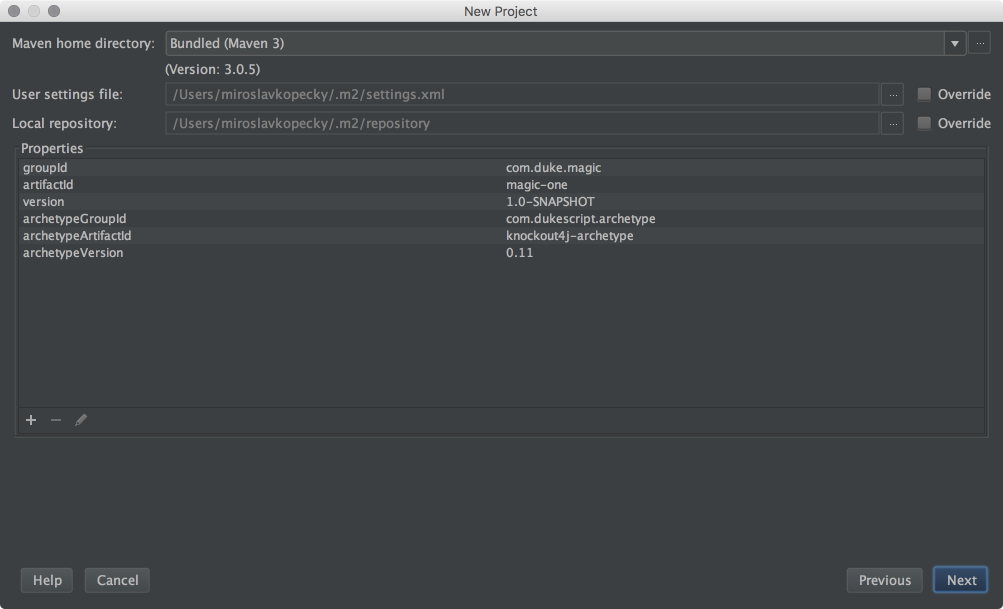
In last step you will choose the folder…
3. Step
Now the project is generated for us and we see the following window.
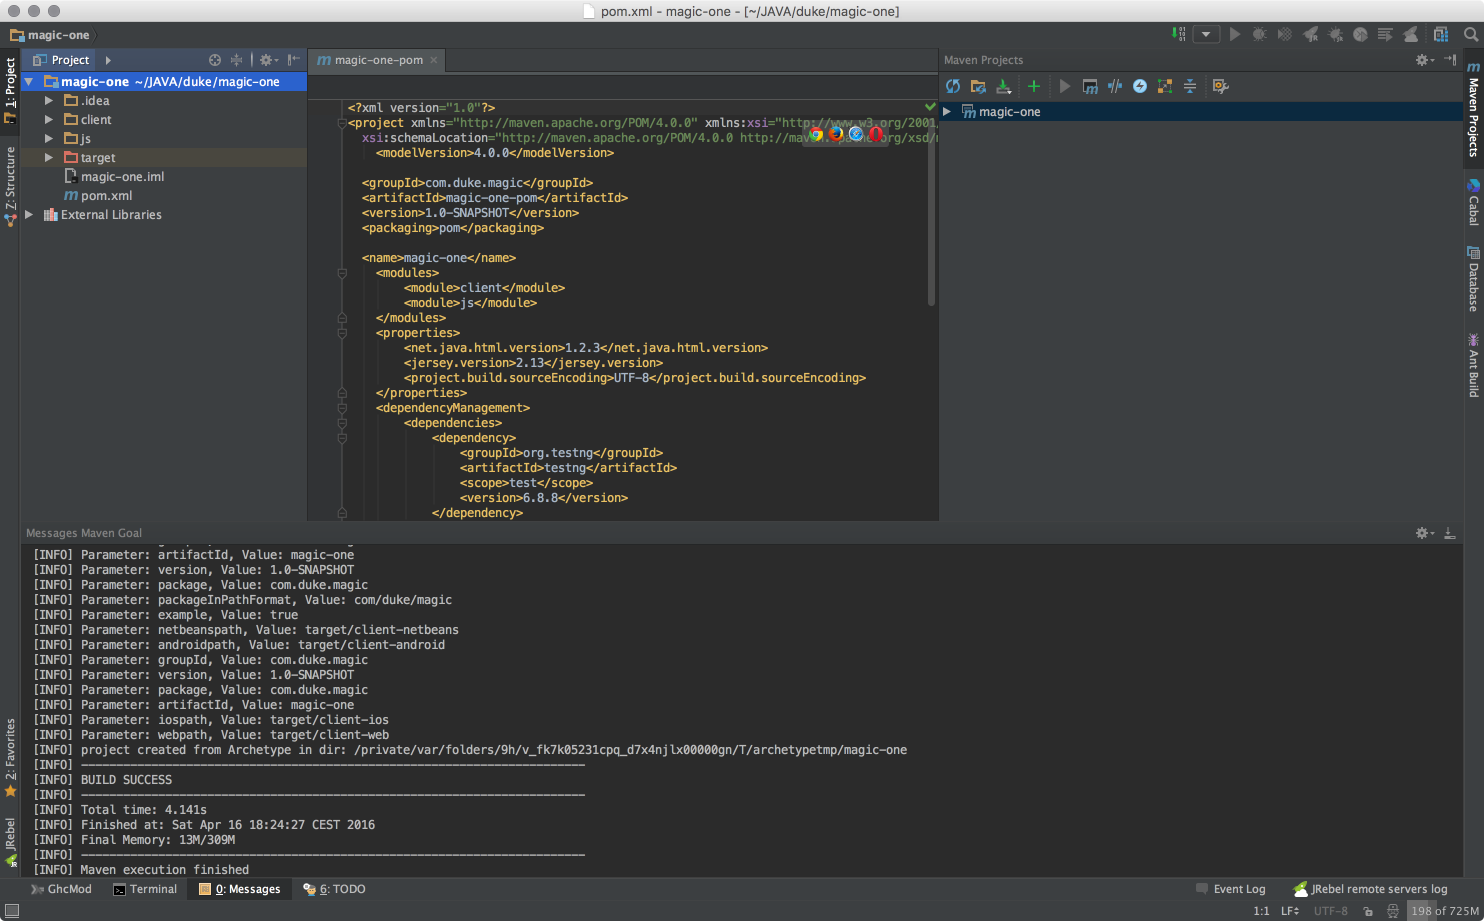
There is one more step we need to do because the newly generated project doesn’t look healthy. The Maven sub-modules don’t seem to be ready yet.
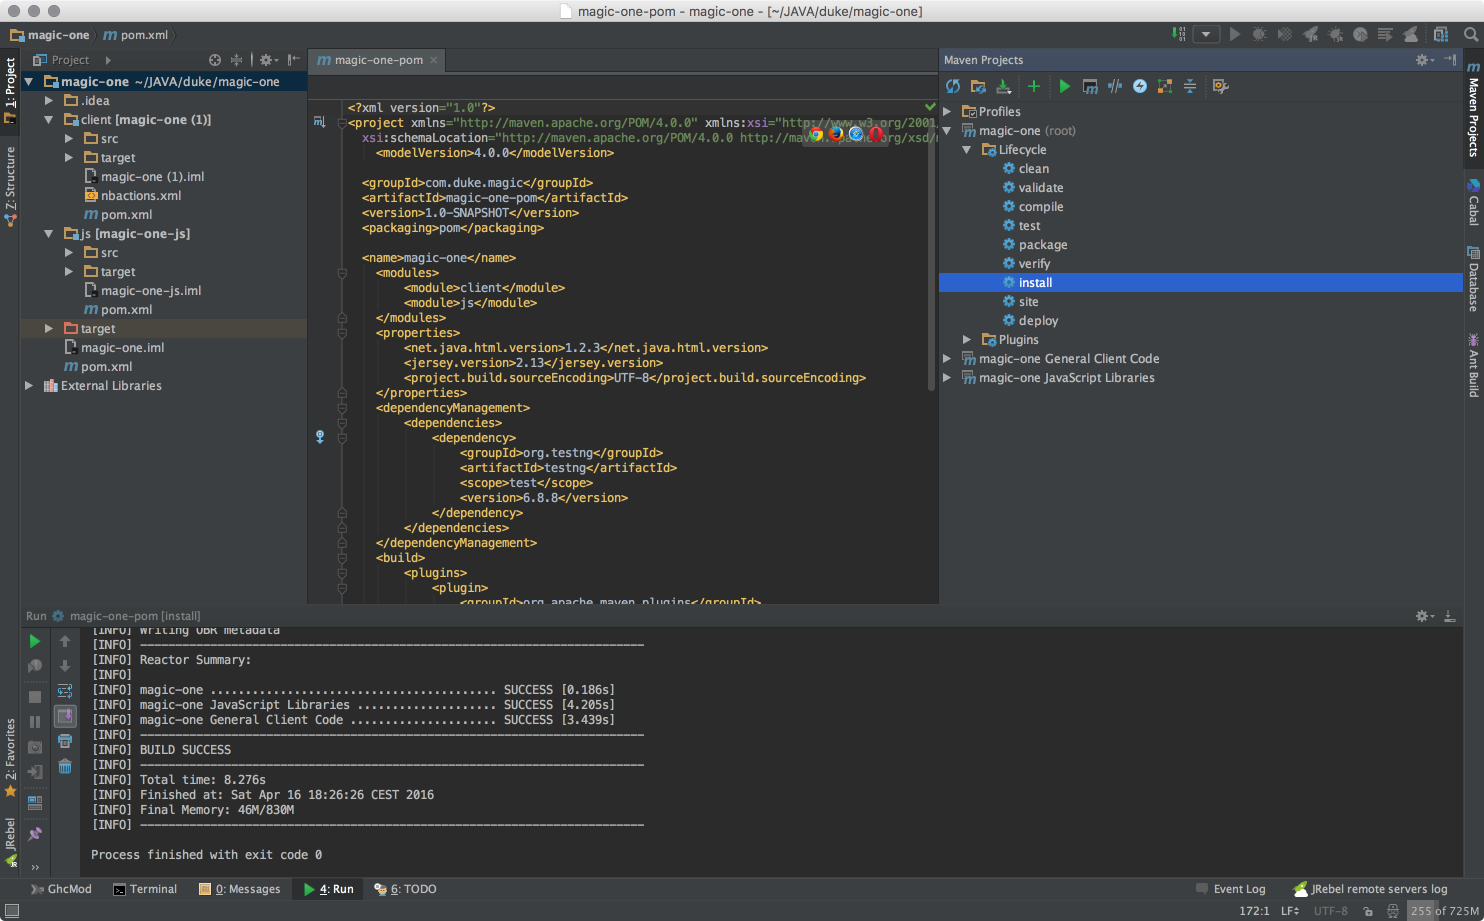
Solution: View -> Tool Windows -> Maven Projects :: here click Refresh
4. Step
Proceed command Install in Maven Projects tab -> project root -> Lifecycle -> Install
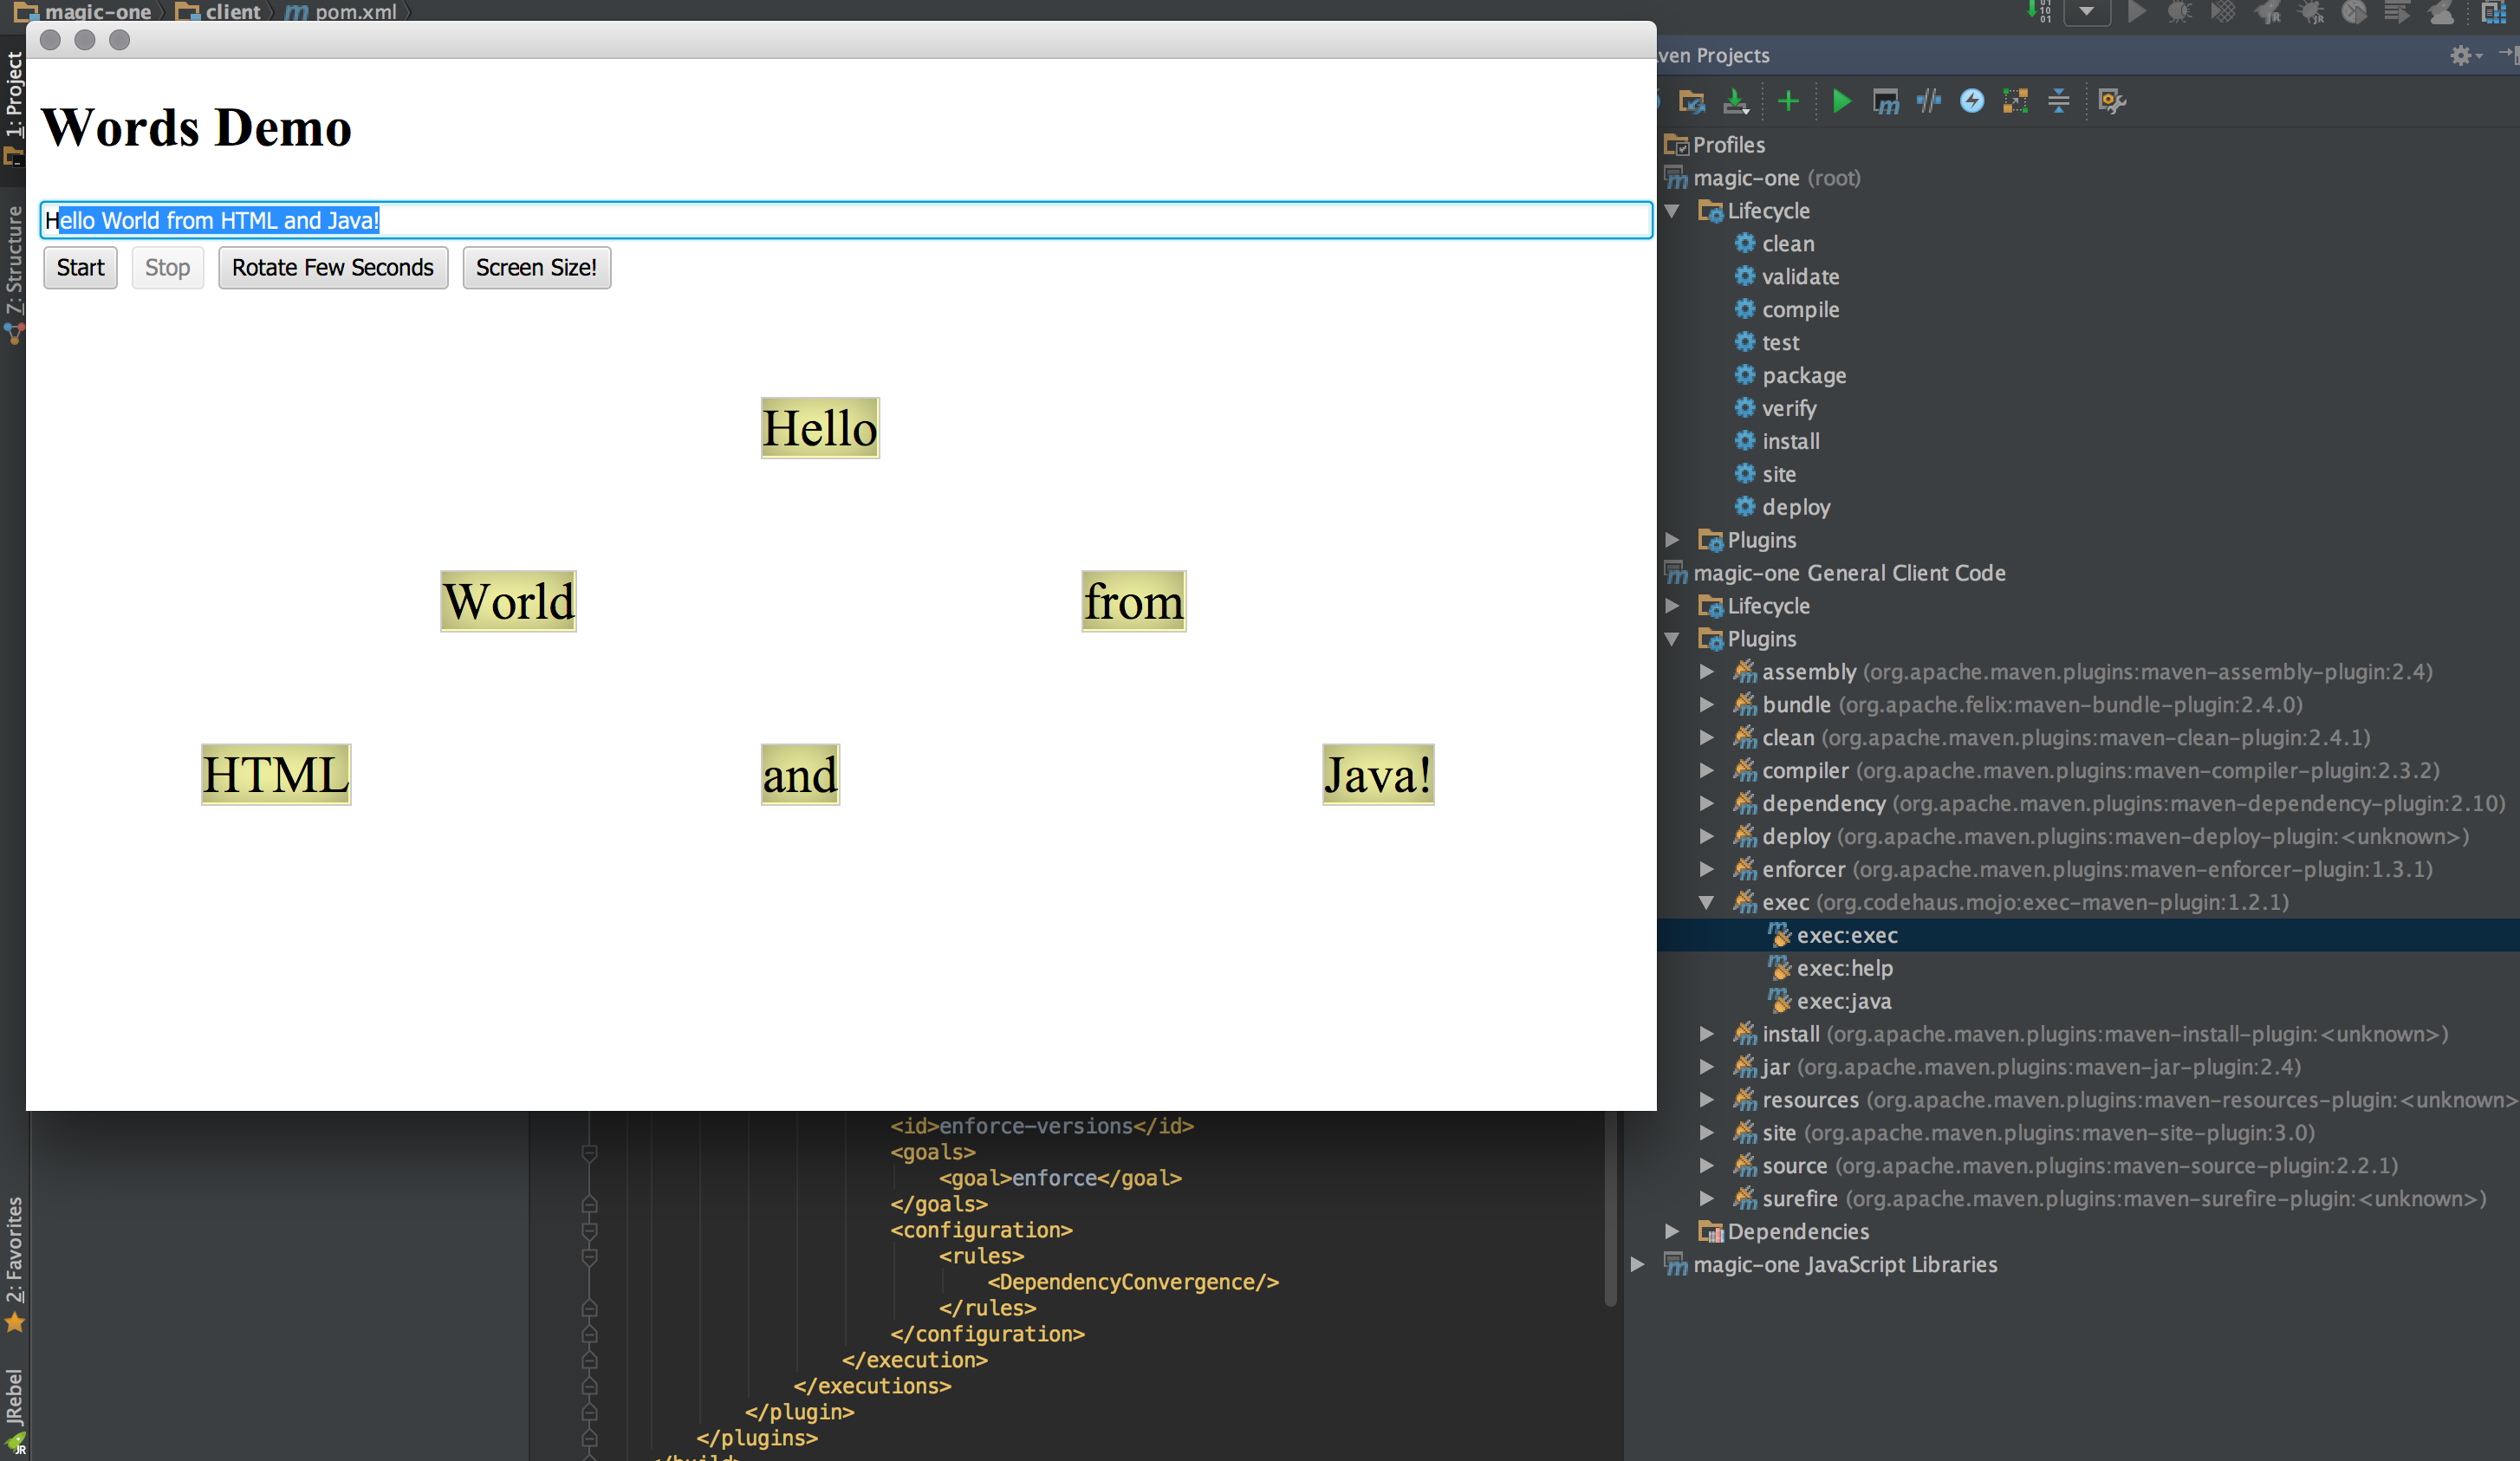
Kudos to Miro for contributing this fine tutorial!
